One of the most impressive features of GPT-Image 1.5 is undoubtedly Inpainting (selective editing). Gone are the days when you had to restart an entire generation just because a small detail wasn’t right.
In this tutorial, we will show you exactly how to transform a basic logo concept into a professional visual identity in just three simple steps.
Step 1: Generate the Base Concept
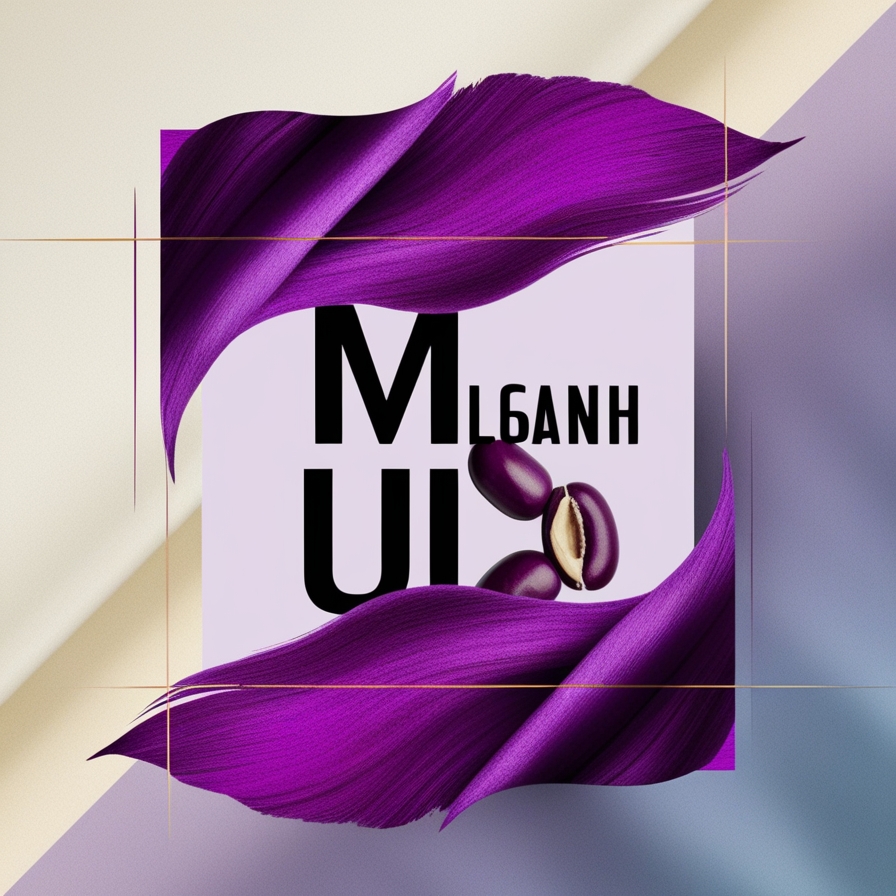
Start by generating your base image. For this tutorial, we wanted a clean, minimalist look for a coffee brand.
- Prompt used: “Minimalist logo for a coffee brand ‘Blue Bean’, blue coffee bean icon, white background, professional vector style.”
Step 2: Activate the Selection Tool (Inpainting)
Once the image is generated, click on it to expand it. Use the new brush icon (selection tool) to highlight the specific area you want to change.
In our example, we highlighted the text “Blue Bean” and the top of the bean icon. This tells the AI: “Keep everything else exactly as it is, only work inside this purple mask.”
Step 3: Prompt the Precise Change
Now, type your specific modification instruction in the chat bar. GPT-Image 1.5 is now smart enough to understand technical design terms.
- Prompt used: “Change text to elegant cursive script and add three subtle steam lines rising from the bean.”
Why This is a Game Changer for Pros
Before this update, modifying a detail often meant changing the entire structure, color palette, or lighting of the image.
With GPT-Image 1.5, the AI “locks” the unselected pixels. This level of control allows you to:
- Iterate faster: No more generating 50 versions to get one right.
- Maintain Brand Consistency: Keep your icon identical while testing different fonts.
- Save Time: You can perform complex retouches in seconds that used to take 15 minutes in Photoshop.
Conclusion
GPT-Image 1.5 Inpainting turns AI from a “random generator” into a true professional assistant. You are no longer just a “prompter”; you are the Art Director.
🔗 Read More on AIWiner: * GPT-Image 1.5 vs Nano Banana Pro: The Full Comparison


